Urethane casting is an important process for making plastic parts. It is a great way to produce small batches of polyurethane parts quickly and efficiently. This method is especially helpful for creating prototypes, which let manufacturers test a product in the market before starting large-scale production. This article will explain everything about Urethane casting, We’ll talk about how urethane casting works, what it’s used for, the materials involved, and the best practices.
What Is Urethane?
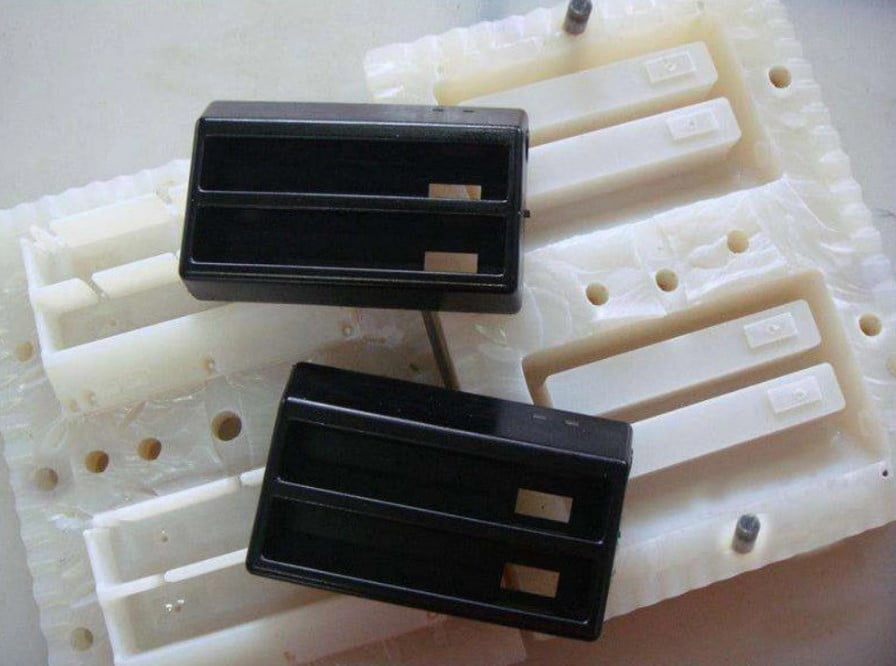
Urethane, also known as polyurethane, is a synthetic polymer belonging to the family of thermosetting plastics. It is a kind of resin that has properties similar to engineering plastic, such as acrylic, polycarbonate, ABS, etc.
What is Urethane Casting?
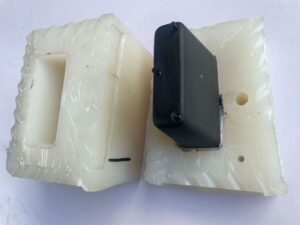
Urethane casting, also called Vacuum casting, is a soft-tooling manufacturing technique used to create small quantities of high-quality rigid plastic, rubber, and silicone parts. It involves using the master prototype to create a silicone mold in a vacuum state, then Casting Polyurethane and other materials through the silicone mold to clone the same replica as the master prototype. These replicas can test and verify the performance and status of products under different materials and different surface treatments.
Advantages of Urethane Casting
If you want to know if urethane casting is right for your project, you need to understand its advantages compared to other processes. Let’s go over some of the major advantages of urethane casting:
High precision: Urethane casting can duplicate all details of the master prototype made by CNC machining including the accurate dimensions and surface quality.
Short lead time: urethane casting prototypes can be made within a few days for low-volume production which can significantly save the time of the product development.
Cost saving: Urethane casting uses silicone mold which is a cheap tooling and the Urethane resin material is also cheap compared with what is used in injection molding.
Design flexibility: Silicone mold does not need much draft angle and ok for the undercuts which can give the design more room to be flexible design.
Multiple Material Offerings: Multiple Urethane resin materials can be chosen for different applications, and they can be customed for special colors and other properties.
Excellent Surface Finish: like injection molding, cast urethane parts offer an excellent surface finish because the parts can be colored, textured, and painted.
Applications of Urethane Casting
Urethane casting is a versatile technology with many uses in different industries. It is perfect for creating high-quality parts because it can produce detailed and precise components. Here are some common applications of Urethane casting:
Automotive Industry
The automotive industry uses Urethane casting to protect and insulate components like coils, sensors, rotors, and stators. It is also ideal for low-volume production and making prototypes. Parts like engine covers, dashboards, and handles can be made using this method.
Medical Industry
In the medical field, Urethane casting is used for high-quality batch production and fast prototyping. It helps create dental implants, medical equipment prototypes, and custom prosthetics. This ensures prosthetics are made with the correct size, weight, and symmetry.
Aerospace Industry
Urethane casting is used to make precise parts for airplanes, such as fuel systems, air ducts, and even some outer components. This technology ensures high accuracy in manufacturing.
Consumer Goods Industry
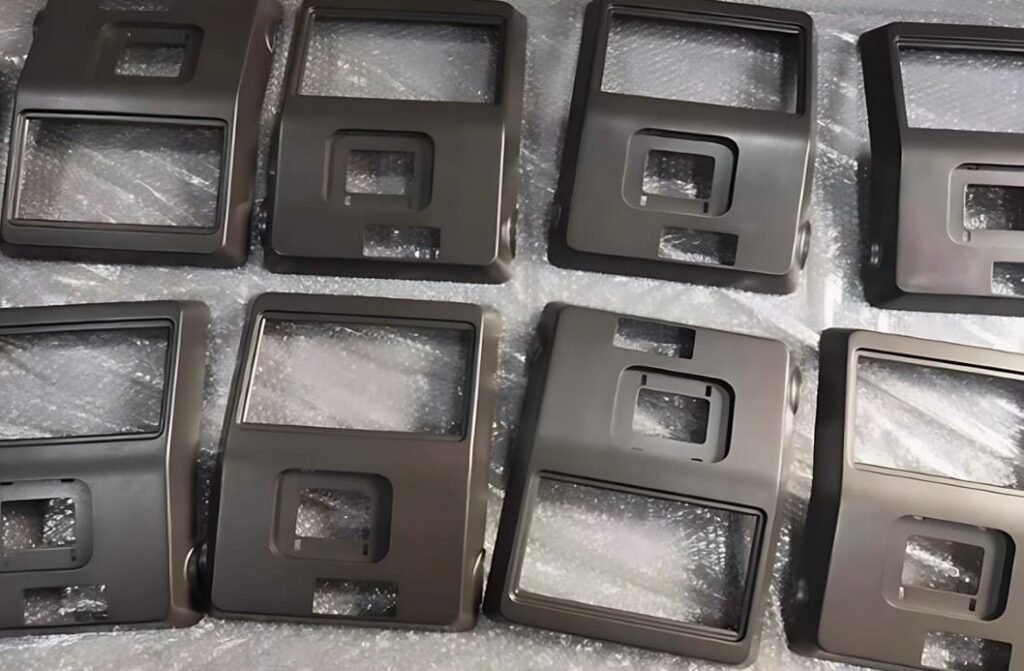
The consumer goods industry uses Urethane casting to produce small batches of items like packaging, accessories, household appliances, baby toys, and electronics. Although injection molding is used for final products, vacuum casting helps create prototypes for testing and approval.
Urethane Resins for Casting
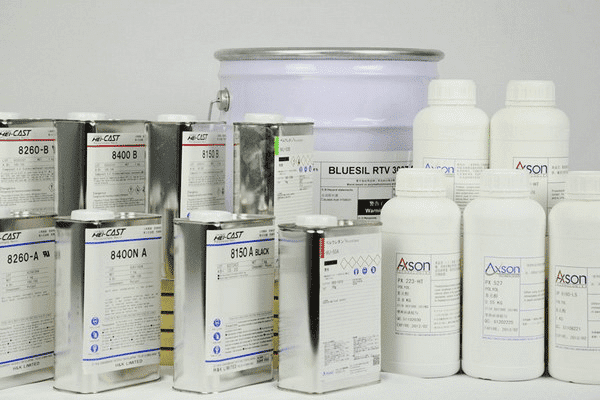
Urethane Casting Materials are usually classified by the harness of the resins. They typically range in hardness from 40 shore A (soft resin) to 85 shore D (rigid resin).
Rigid Urethane (Shore D Resins)
Rigid urethane plastics are tough and durable and can be used for final parts like enclosures, cases, consumer electronics, and more. There are some common types of rigid urethane such as ABS-like, acrylic-like, and more.
ABS-like urethane resins are affordable, versatile materials that can match or even surpass the strength and impact resistance of ABS engineering plastic, the popular thermoplastic found in many industries. With a typical hardness of 80-85 Shore D, these resins are perfect for making durable product enclosures and components like game console controllers that can withstand frequent handling.
Acrylic-like urethane is another popular choice for casting. It’s a transparent, rigid material similar to PMMA (polymethylmethacrylate), which is often used as a lightweight glass alternative. With a hardness of around 87 Shore D, these materials are ideal for strong, clear parts like light Automotive lighting optic prototypes.
Urethane Elastomers (Shore A Resins)
Elastomeric urethanes, which belong to this group, share properties with flexible materials like TPE, TPU, and silicone rubber, making them perfect for applications such as wearable components and protective bumper pads. These materials offer the same flexibility and strength as rubber but with added durability, which can be essential for products subjected to frequent handling or impact.
Shore A resins also can be used in casting applications, where they can create urethane molds that are more durable and wear-resistant than silicone options. For even more demanding uses, harder elastomeric urethanes with durometers ranging from 90 Shore A up to 60 Shore D offer strength and resilience suitable for industrial components like forming dies and gears.
Urethane Casting process
The urethane casting process consists of Four key steps: creating the pattern, making the mold, pouring the resin and post finishing. Let’s take a look at each step in detail:
Step 1: Creating the Master pattern
The urethane casting process starts with making a master pattern which is usually created using high-precision methods like 3D printing, CNC machining, or traditional sculpting. Its accuracy directly impacts the final cast parts, so even minor imperfections in the master pattern can affect the quality of each casting.
3D printing is a fast and cost-effective way to create a master part, especially when using high-resolution methods like SLS or SLA, which deliver smoother finishes than FDM printing. However, to achieve the necessary smoothness, 3D-printed models often require finishing like sanding or polishing.
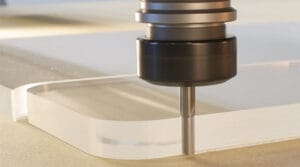
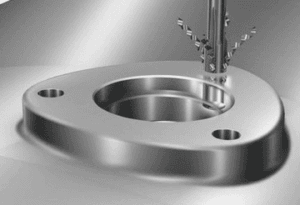
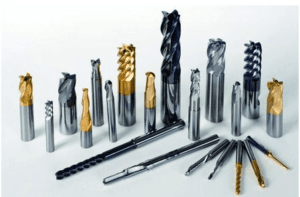
Alternatively, CNC machining provides a master pattern with better detail and tighter tolerances than 3D printing, However, it takes more cost and time than 3D printing. It’s ideal for parts requiring specific features, though complex geometries may present limitations in machining.
Step 2: Making the Mold
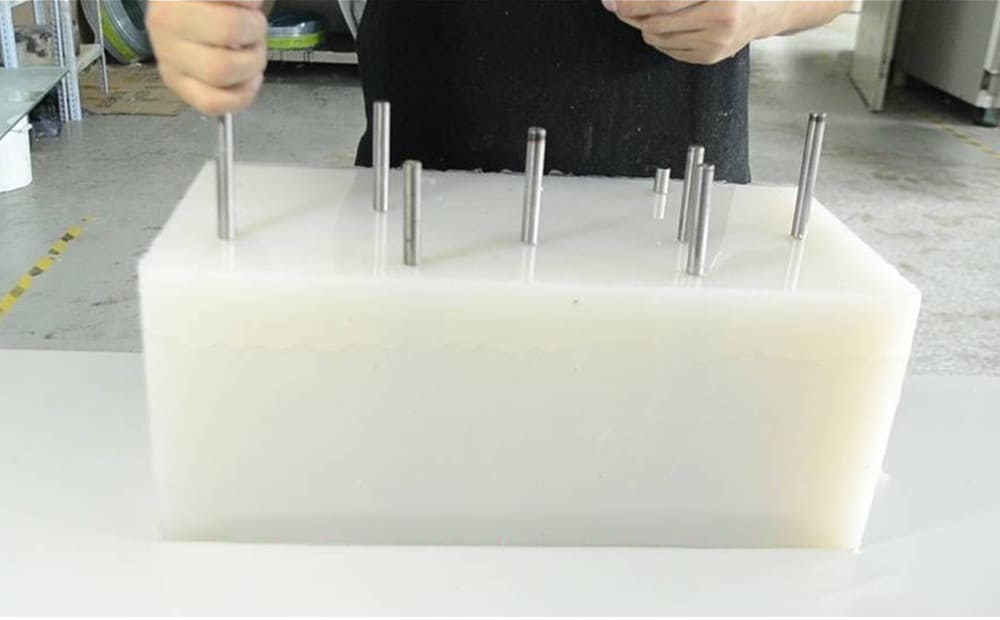
The mold-making stage requires close attention and a lot of hands-on work. First, a mold box is built using a melamine board and hot glue, with the master pattern placed at the bottom. To make sure the two halves of the mold fit perfectly together, any gaps around the model are filled with clay or styrene blocks, and dowel pins are added to help with alignment.
A two-part silicone mixture is then prepared and placed in a vacuum chamber to remove air bubbles. This mixture is carefully applied to the pattern, filling small gaps to prevent air pockets. The first half of the mold is poured and left to set. Once cured, the mold is flipped, equipped with vents, and coated with a mold release to stop it from sticking. The second half is poured similarly, forming a sturdy mold that will hold the casting material securely.
Step 3: Pouring the Urethane
After the mold is prepared and the master pattern is taken out, mix the two-part urethane resin and prepare to pour it into the mold. If a specific color is needed, pigment is added before combining the two parts. The mixture has a short working time—about three minutes—so it’s quickly placed in a vacuum to remove air bubbles, and then poured into the mold. Vent straws are used to help the urethane fill all the details in the mold.
The filled mold is then placed in a pressurized oven to harden. During this curing process, the urethane takes on the exact shape of the master pattern, capturing all the details, as well as properties like hardness, flexibility, and color, based on the type of urethane used.
Step 4: Finishing
After the part has cured, take the urethane part out of the mold and check for quality. Any extra material, like “gate” or “burrs” needs to be smoothed off with fine sandpaper. Sometimes, Additional curing may be applied for added strength, and polishing or painting is needed to achieve the desired final finish. This step ensures the cast parts are ready for use and meet the intended specifications.
How to Select the right urethane materials?
Selecting the right urethane material for your application can directly impact the performance and durability of your final product. The ideal material will depend on the specific properties your part requires. Here are the key factors to consider when choosing a urethane material:
Durometer (Hardness)
Durometer, typically measured on the Shore scale, indicates a material’s hardness. Higher numbers denote harder materials. Choose a durometer level that aligns with your needs—softer materials (lower durometers) are ideal for flexible parts, while harder materials (higher durometers) are best for rigid components.
Color
Urethane materials can be produced in a variety of colors, allowing for customization to meet branding, aesthetic, or functional color-coding needs. If color consistency and vibrancy are important, choose a urethane that can be reliably tinted or dyed to match your exact specifications. This consideration is particularly valuable for consumer-facing parts or products with visible branding elements.
Abrasion Resistance
If your parts will be exposed to frequent handling, impact, or abrasive conditions, selecting a urethane with high abrasion resistance will be crucial for extending product life and maintaining appearance. Abrasion-resistant urethanes are ideal for applications such as protective casings, gears, or components in high-wear environments, as they can withstand friction, scuffing, and physical stress without degrading quickly.
Chemical Compatibility
For parts that will come into contact with specific chemicals—such as oils, solvents, or cleaning agents—it’s important to ensure the selected urethane material can resist chemical exposure without losing structural integrity. Chemical compatibility prevents issues like material swelling, cracking, or surface degradation, which can compromise the part’s functionality and lifespan.
Temperature resistance
Urethanes vary widely in their tolerance to temperature extremes. For applications where parts will be exposed to high heat or cold, select a material designed to maintain performance under those conditions. Temperature-resistant urethanes are essential for outdoor applications, machinery components, and any part that will undergo thermal cycling, as they retain their properties without becoming brittle or deformed.
UV Stability
Exposure to sunlight or other UV light sources can cause some urethanes to degrade, resulting in discoloration, brittleness, or loss of mechanical properties over time. For parts used outdoors or in bright, UV-exposed environments, selecting a UV-stabilized urethane is critical to prevent these effects, ensuring long-term durability and a consistent appearance.
Mold Compatibility
Consider the compatibility between the urethane material and the mold used in casting. Some materials adhere better to certain mold surfaces, which can impact production efficiency and part quality.
Tips Need To Know When Using Urethane
Urethane can be influenced by a variety of factors that may affect the quality and performance of your final parts. Keep Tips below in mind to ensure they don’t impact the quality of your final parts.
- If tinting is challenging for your urethane parts, they can be painted. Matching the tint to a similar color helps if paint chips reveal the urethane beneath.
- Urethane reacts with moisture, including humidity. So make sure that always reseal containers immediately after pouring to maintain quality.
- Urethane generates heat while curing, causing thicker areas to set faster. So be sure to leave it for long enough for everything to dry.
- urethane will have around 0.15% shrinkage during curing. So you need to take it into account when designing molds.
- The base color (usually white, black, or translucent) affects the final tint. For instance, a white base with a red tint may appear pink.
Best Practices for Urethane Casting
To minimize the risk of failure during the urethane casting process, it’s essential to follow best practices that ensure optimal results. At Kusla, we’ve summarized these best practices based on our years of experience, offering you valuable insights. These guidelines are especially beneficial for those working in the urethane casting industry.
Preheating Resin
Preheat the resin bottles to about 40˚C one day before casting to prevent crystallization. Flip the bottles occasionally to ensure the resin stays evenly distributed and ready for mixing.
Minimize Moisture
Moisture can act as a blowing agent, affecting the quality of your castings. To avoid moisture contamination, backfill resin bottles with argon gas after each use. This helps maintain the resin’s integrity and prevents unwanted chemical reactions.
Proper Mixing
Always pour the mixed components into a clean cup before casting. This ensures that the resin is thoroughly mixed and prevents the formation of unmixed streaks, which could weaken the casting.
Mold Removal
To make mold removal easier, use rubbing alcohol to loosen any hot glue or adhesive. This will help separate the mold from the casting without damaging it.
Slow Pouring
Pour the urethane resin slowly from one point, especially near delicate details. This minimizes the formation of air bubbles, which can negatively affect the surface finish and structural integrity.
Proper Gate and Vent Placement
For effective filling and air release, position the gate at the lowest point of the mold and the vent at the highest point. This ensures the resin fills the mold properly while allowing trapped air to escape.
Adding Powders for Special Effects
If you want a more vibrant finish, consider adding metallic powders to your urethane mix. For applications that require electrical conductivity, adding polypyrrole or graphite powder will give the casting the desired properties.
Leave Space for Degassing
When degassing your urethane mixture, remember that it will expand. Ensure you leave enough space above the surface of the mixture to accommodate this expansion without overflowing.
Use reliable Machine
A reliable vacuum casting machine can significantly enhance the speed and quality of your casting process. It helps remove air bubbles more effectively and improves the consistency of the final product.
Design Guidelines for Urethane Casting
In addition to best practices above, we’ve also compiled some design guidelines to follow before starting the urethane casting process. These tips are especially useful for designers when creating designs in CAD, helping to ensure the process runs smoothly and efficiently.
Wall Thicknesses
even the minimum thickness could be 1mm, but if possible, Make the wall thickness between 1.5 mm – 4 mm. Over thick or less thickness causes defects on the final parts like injection molding.
Ribs
add ribs to improve part strength, and make the rib thinner at 60% of wall thickness to avoid shrinkage. And Avoid 90-degree walls which are easy to break.
Radius
Make a radius more than 3mm to improve part strength and be good for silicone tooling lifespan.
Draft Angle
Even the Urethane Casting process is possible to make it without draft angles, but if possible, make 3-degree draft angles which will be better for the lifespan of the silicone mold.
Embossed Details
To keep text and logos clear and easy to see, embossed (raised) or debossed (sunken) designs should be at least 1 mm deep or high and 1 mm wide. For better readability, leave a 1 mm space between the letters too.
Compare Urethane Casting with Injection Molding
Both Urethane casting and injection molding can be used for low-volume productions. So people usually compare these two processes when producing products. Let’s look at some key differences to consider below:
Unit Costs
The cost per part is typically higher for urethane casting than for injection molding. This is because urethane molds only produce a few parts before needing replacement, while injection molds are designed for large production runs, making each part cheaper over time. Injection molding is usually the most cost-effective option for long-term, high-volume production.
Upfront Costs
Injection molds, which are usually made of metal, are more expensive to produce, making them a larger initial investment. This makes them ideal for long-term mass production. Urethane casting molds are less costly, which helps lower upfront expenses, making this method better suited for one-off designs or small production runs.
Material Costs
Production-grade plastics needed for injection molding, like PVC, ABS, acetal, and LPDE, are typically more expensive than the materials used in urethane casting. For this reason, urethane casting is often the preferred choice for prototypes and low-volume production.
Lead Time
Creating an injection mold can take a long time—sometimes even months. This can slow down the timeline for delivering products. Some companies use 3D metal printing to speed up the process, but it still takes longer than making urethane molds, which can often be created quickly with a 3D printer or even by hand. This makes urethane casting a faster option when you need quick turnaround times for product testing or early market release.
Conclusion
Urethane casting is a flexible, affordable way to create prototypes, small production runs, and even finished products without the high setup costs of traditional manufacturing. This process accurately copies a master model, as long as the design allows easy removal from the mold.
KUSLA prototype has years of experience in urethane casting service, providing high-quality parts quickly and affordably. Contact us today to see how we can support your next project!
FAQs
What is the tolerance of urethane casting prototypes?
The tolerance for urethane casting prototypes varies depending on the size of the part. For smaller parts, typically those with dimensions under 100mm, the tolerance can be as precise as ±0.1mm. For larger parts, those exceeding 100mm in size, the machining tolerance is slightly broader, typically within ±0.2mm or 0.2% of the overall dimension.
How much does the urethane casting cost?
The total cost of urethane casting is made up of several components, including the casting cost, silicone mold cost, and the cost of the master prototype. Generally, the price can range from $10 to $200 per part, depending on factors such as the complexity of the design, the size of the part, and the number of prototypes required. The final cost will vary based on these variables, but this range provides a good estimate for most standard urethane casting projects.
Can you insert Metal nuts into the urethane casting prototype?
Yes, metal nuts can be inserted during the urethane casting process. This is typically done by placing the metal nut into the mold before pouring the urethane resin, allowing it to become securely embedded within the prototype as the material cures.
What is the lifespan of silicone mold for urethane casting?
A silicone mold used for urethane casting typically lasts for around 20 copies before it starts to degrade. Additionally, the mold has a shelf life of about 30 days if not used, after that it may no longer be suitable for casting.


