Online 3D Printing Services
Fast 3D printing for prototypes and production, ready in as little as 1 day. Get a quick quote with design feedback today.
15+ YEARS OF EXPERIENCE
MULTIPLE 3D PRINTING CAPABILITIES
One-stop Machining and Finishing

Stereolithography (SLA) uses an ultraviolet laser to draw on liquid resin, building parts layer by layer until they are complete.

FDM uses a heated nozzle to melt thermoplastic filament, depositing it layer by layer to create the final part.
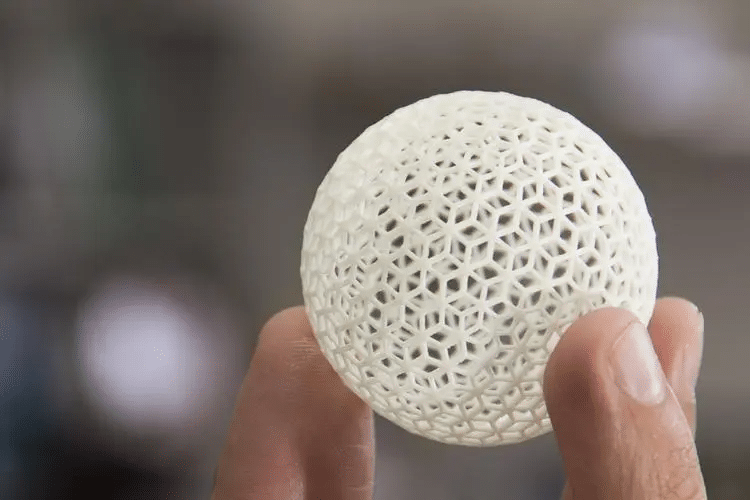
Selective Laser Sintering (SLS) uses a CO2 laser to fuse nylon-based powder, building parts layer by layer.
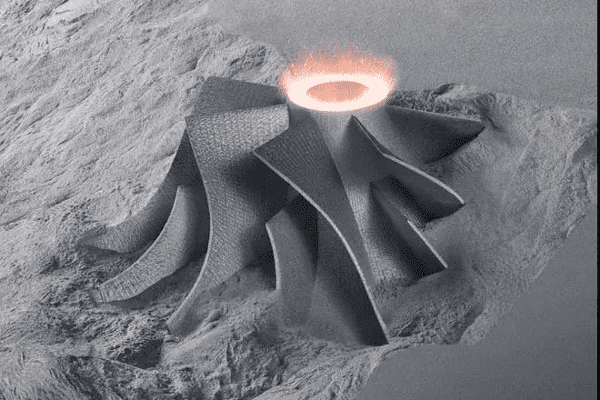
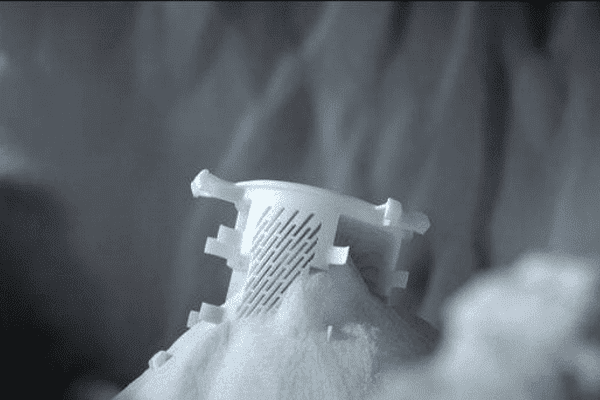
Direct Metal Laser Sintering (DMLS) uses a fiber laser to draw on a layer of metal powder, welding it together layer by layer.

Marketing Director

Project Manager

Project Manager

Technical Sales

Technical Sales

Technical Sales
Marketing Director
Project Manager
Project Manager
Technical Sales
Technical Sales
Technical Sales
